That steady drip at 2 a.m. is more than annoying. If you’re searching for how to fix dripping faucet problems, you’re probably already dealing with the sound, the wasted water, and the worry that a small leak could turn into a bigger repair.
The good news is that some faucet drips are simple. The not-so-good news is that not every dripping faucet has the same cause, and forcing the wrong fix can strip parts, crack trim, or leave you with a leak that gets worse by morning. A little caution up front saves a lot of frustration.
Before you fix a dripping faucet, find the type
The first step in how to fix dripping faucet issues is figuring out what kind of faucet you have. Most homes have one of four common types: compression, ball, cartridge, or ceramic disk. You do not need to be a plumber to spot the difference, but you do want to slow down and look before taking anything apart.
Compression faucets usually have two handles and are common in older homes. They often drip because a rubber washer has worn down. Cartridge faucets can have one or two handles and tend to leak when the cartridge or seals wear out. Ball faucets are usually single-handle kitchen faucets, and they have more small internal parts than most homeowners expect. Ceramic disk faucets are durable, but when they drip, the problem is often debris, worn seals, or damage inside the valve body.
If the faucet drips only from the spout, the issue is usually inside the handle assembly. If water leaks around the base of the handle, you may be dealing with worn O-rings or seals instead.
What to do first
Start by shutting off the water supply under the sink. Turn both shutoff valves clockwise until they stop. Then turn the faucet on to release leftover pressure and plug the drain so no screws or clips disappear into the pipe.
Set out a towel in the sink or on the counter. Faucet parts are small, slick, and easy to lose. Take a photo before each step if you are planning to disassemble anything. That one habit makes reassembly much easier.
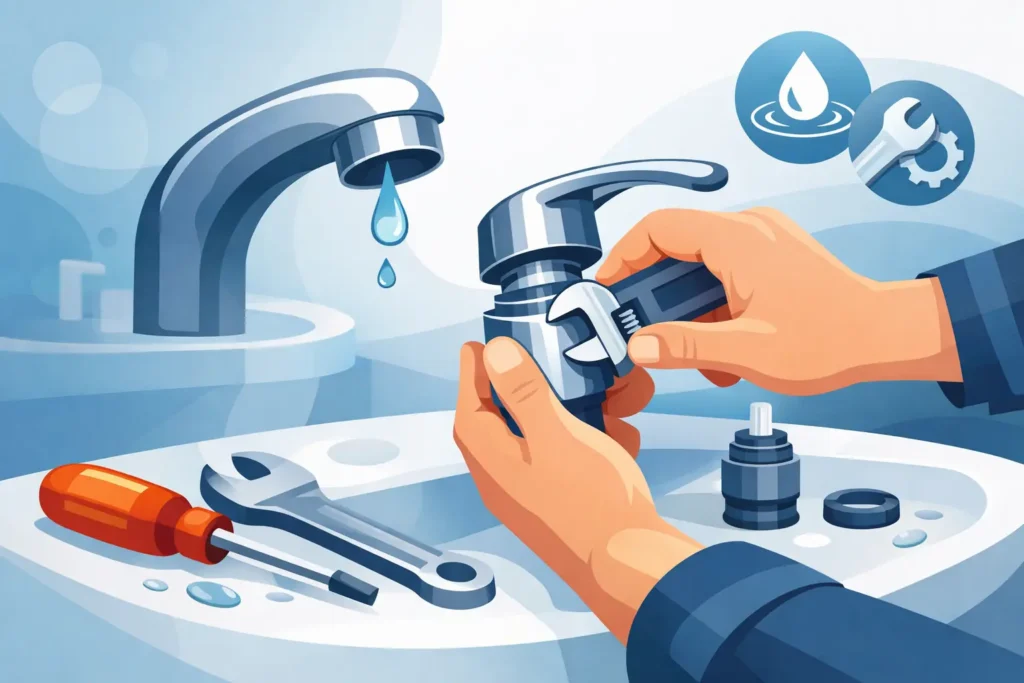
You will usually need an adjustable wrench, a screwdriver, needle-nose pliers, and possibly a hex key. For some jobs, plumber’s grease and a replacement kit that matches your faucet model can help. Matching parts matters. Close enough is often what causes a second repair trip.
How to fix dripping faucet issues by faucet type
Compression faucet repair
If you have a compression faucet, remove the decorative cap on the handle, take out the screw, and lift off the handle. Under that, you will see the stem assembly. Once removed, inspect the rubber washer at the bottom. If it is hardened, cracked, or uneven, replace it.
Also check the valve seat. If the washer has been leaking for a while, the metal seat may be worn or rough. A new washer against a damaged seat may still drip. That is where DIY starts to get less predictable. Replacing a washer is straightforward. Repairing a worn valve seat takes a little more care.
Cartridge faucet repair
For a cartridge faucet, remove the handle and retaining clip or nut, then pull the cartridge out. Some slide out easily. Others need a puller tool because mineral buildup has locked them in place.
Inspect the cartridge and the rubber seals. If the seals look worn, flattened, or brittle, replace them. If the cartridge itself is damaged or heavily scaled, replace the whole cartridge. Clean the inside of the faucet body before installing the new part. Even a good cartridge can leak if debris is left behind.
Ball faucet repair
Ball faucets are common, but they are not always the easiest DIY repair. Once the handle and cap are removed, you will find springs, seats, seals, and the ball assembly. A repair kit is usually the best route because these faucets rely on several small pieces working together.
If only one part looks bad, it can still make sense to replace all the wear parts while you already have the faucet apart. That is one of those cases where the cheap fix and the smart fix are not always the same thing.
Ceramic disk faucet repair
Ceramic disk faucets are reliable, but they can drip if sediment gets into the seals or if the seals wear out over time. Remove the handle and the escutcheon, then carefully lift out the ceramic disk cylinder.
Rinse any debris and inspect the rubber seals. If the seals are damaged, replace them. If the ceramic surfaces are cracked, the full assembly will usually need replacement. Do not force ceramic parts. They are tough under normal use, but they can break if handled roughly during a repair.
Why some faucet drips keep coming back
A faucet that keeps dripping after a repair usually points to one of three things. The wrong replacement part was installed, the valve seat or faucet body is damaged, or water pressure and buildup have caused more wear than expected.
Mineral deposits are especially common in older plumbing systems. They can hide damage, keep seals from seating properly, and make parts difficult to remove without causing more problems. That is why a faucet may seem like a quick fix online but turn into an hour of trial and error at the sink.
There is also the age factor. If the faucet is already corroded, loose at the base, or showing wear in multiple areas, replacing one internal part may only buy you a little time. At that point, repair versus replacement depends on the faucet’s condition, part availability, and whether you want a short-term patch or a long-term fix.
When not to force a DIY faucet repair
If a handle will not come off, a cartridge is stuck, or a shutoff valve under the sink does not fully close, stop there. Those are common turning points where a manageable repair can become a bigger plumbing issue.
A stuck shutoff valve is a good example. Many homeowners discover the faucet leak only to find that the supply valve under the sink also needs attention. If you cannot safely shut off the water, you are no longer just fixing a drip. You are dealing with a control problem that can affect the whole repair.
The same goes for leaks under the sink. If water is pooling in the cabinet, dripping from supply connections, or soaking the wood base, the faucet may not be the only problem. What looks like a simple spout drip can overlap with worn supply lines, failing shutoff valves, or a cracked sink connection.
How to fix dripping faucet problems without making them worse
Go slowly, keep parts in order, and resist the urge to overtighten. Many faucet leaks happen because a seal is worn out, but many faucet damage calls happen because someone tightened a nut too hard, used the wrong tool, or installed a part backward.
It also helps to bring the old part with you if you are buying replacements. Faucet brands and models vary more than people expect. A washer that is slightly off or a cartridge that almost fits can waste an afternoon and still leave you with a drip.
If your faucet is older or the brand is unclear, sometimes replacement is the cleaner fix. That is especially true when the finish is failing, the handle feels loose, or parts are no longer easy to source.
When it makes sense to call a plumber
If you have tried the basic repair and the faucet still drips, it is time to get it diagnosed properly. The same is true if the leak is tied to corrosion, damaged shutoff valves, hidden leaks under the sink, or signs of water damage in the cabinet or countertop.
For homeowners in Port Orchard and nearby areas, fast help matters because a “small” leak has a way of spreading into cabinet damage, warped materials, and mold concerns if it is ignored. A dependable plumber can tell you quickly whether the faucet needs a simple internal repair, a full replacement, or a closer look at the supply connections.
That is where experienced service saves time and money. A proper repair is not just about stopping today’s drip. It is about making sure the leak does not come back next week under the same sink with a bigger mess attached.
If you are comfortable with basic tools, some dripping faucets are absolutely worth a careful DIY attempt. But if the repair starts fighting you, trust that instinct. Water has a way of punishing guesswork, and there is no shame in choosing the fix that protects your home and your time. Don’t stress the mess, call LeakLess.