A faucet that drips all night can turn a small annoyance into a real household headache. Knowing how to repair faucet leaks can save water and stop the noise, but the wrong part, too much force, or a missed internal crack can make a simple repair more expensive. Start by identifying what the faucet is telling you before taking anything apart.
Start With the Type of Faucet and the Symptom
Most kitchen and bathroom faucets use one of four internal systems: a compression stem, cartridge, ball, or ceramic disc. You do not need to memorize every model, but you do need to know that the repair parts are not interchangeable. A cartridge from one brand may look almost identical to another and still fail to fit or seal correctly.
The symptom gives you a useful clue. A drip from the spout after the faucet is shut off usually points to a worn washer, damaged cartridge, corroded valve seat, or worn seals. Water around the handle often means an O-ring, packing nut, or cartridge seal has failed. If the faucet base leaks only while water is running, the problem may be worn base seals or a loose connection under the sink.
Before you begin, look for the manufacturer name or logo on the faucet body, handle, or aerator. Taking clear photos before disassembly also helps you get the right replacement part and put everything back in the proper order.
What You Need Before You Repair a Faucet
A faucet repair should start with a clean workspace and the correct replacement parts. Trying to reuse a flattened washer or forcing a mismatched cartridge usually leads to another leak.
Gather these basics:
- A screwdriver set, including small flat-head and Phillips drivers
- Adjustable wrench or tongue-and-groove pliers
- Allen wrenches for set-screw handles
- Replacement cartridge, washer, O-rings, or seals matched to your faucet
- Plumber’s grease made for faucet parts
- A rag, small container, and flashlight
Put the sink stopper in place or cover the drain with a rag. Tiny screws and clips have a talent for disappearing down the drain. Lay a towel in the sink basin, too, especially if you are working around porcelain or a delicate finish.
Shut Off the Water First
Look below the sink for the hot and cold shutoff valves. Turn both clockwise until they stop, then open the faucet to release pressure and confirm the water is off. If one of the shutoff valves will not turn, leaks when you touch it, or does not fully stop the water, stop there. An aging shutoff valve can break or begin leaking when it is disturbed.
Some homes have older plumbing and valves that have not been operated in years. In that situation, turning off the main water supply may be safer, but it also means you should have a plan for restoring water to the rest of the home. If you are unsure, a plumber can handle the faucet and valve issue together rather than trading one problem for another.
How to Repair a Faucet That Drips From the Spout
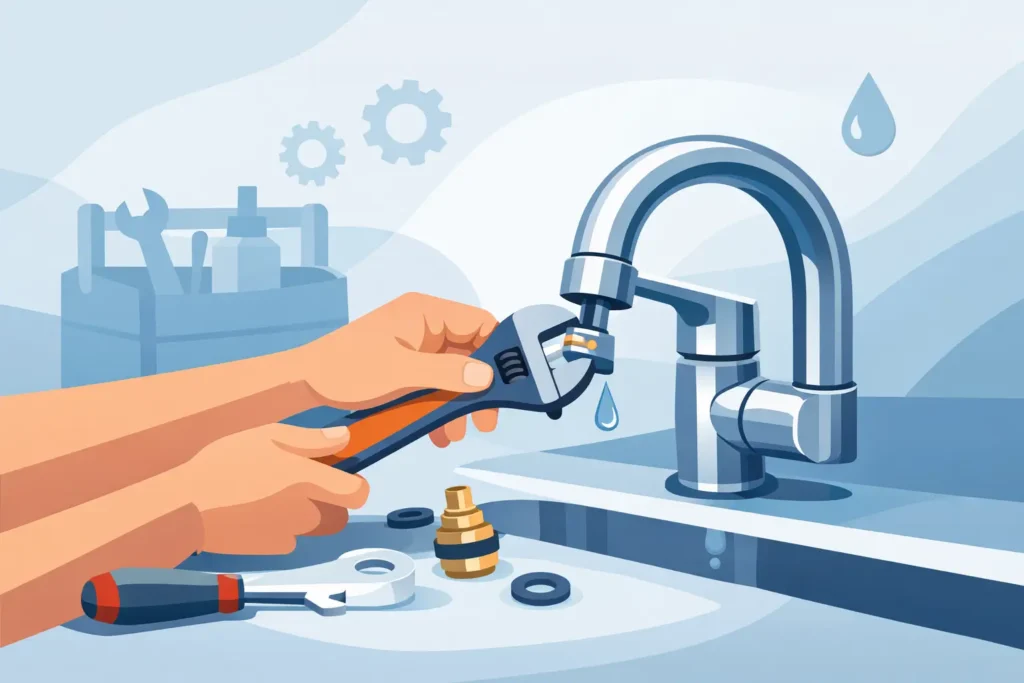
Once the water is off, remove the handle. Decorative caps often hide the handle screw. Pry the cap gently with a small flat-head screwdriver, then remove the screw or loosen the Allen set screw. Lift the handle straight up when possible. Twisting hard can damage the stem or crack the handle.
Cartridge faucets
Cartridge faucets are common in single-handle kitchen and bathroom fixtures. After removing the handle, you may find a retaining clip, nut, or bonnet holding the cartridge in place. Remove it carefully, then pull the cartridge straight out. Some cartridges are stuck from mineral buildup, so use steady pressure instead of prying against the faucet body.
Compare the old cartridge to the new one, including its orientation. Many have tabs or notches that must line up exactly. Replace worn O-rings if your repair kit includes them, applying a thin coat of plumber’s grease to help the seals slide into place. Do not use petroleum jelly, which can damage certain rubber components.
Compression faucets
A two-handle faucet with separate hot and cold controls may use compression stems. Remove the handle and unscrew the stem assembly. At the bottom of the stem, you will usually find a rubber washer held by a small screw. Replace the washer and inspect the brass valve seat inside the faucet body.
If the new washer does not stop the drip, the valve seat may be pitted or rough. A damaged seat can cut into a new washer quickly, so replacing the washer alone becomes a temporary fix. This is one of the times when a small-looking faucet issue may need a more complete repair.
Ball and ceramic-disc faucets
Ball faucets have several small springs, seats, and seals below the ball assembly. Ceramic-disc faucets use a disc cartridge with rubber inlet seals. Both can be repaired, but the parts must go back in the exact order and position. Work over a towel, take photos as you disassemble, and use a manufacturer-specific kit whenever possible.
If you find cracked plastic, heavily corroded metal, or a damaged faucet body, replacing internal seals will not create a dependable long-term result. A new faucet may be the smarter investment.
Fix a Leak Around the Handle or Base
A handle leak does not always mean the whole faucet is failing. On some models, gently tightening the packing nut under the handle can stop a minor seep. Turn it only a small amount, then restore water and test. Overtightening can make the handle difficult to operate or damage the internal components.
If water still appears around the handle, replace the O-rings or cartridge seals. For a leak at the base of a swivel spout, remove the spout according to the faucet design and inspect the large O-rings beneath it. Clean away mineral deposits, install the correct new seals, lubricate them lightly, and reassemble.
Water collecting under the sink needs a closer look. Dry everything first, then run the faucet and watch the supply connections, spray-hose connection, drain pipes, and faucet mounting area. A leak can travel along a hose or pipe, so the first wet spot is not always the true source.
Reassemble Slowly and Test in Stages
Reinstall parts in reverse order without forcing anything. Tighten retaining nuts until secure, not excessively tight. Faucet components are often brass, plastic, or thin metal, and overtightening can strip threads or crack a housing.
Turn the shutoff valves back on slowly. First check beneath the sink for leaks, then run cold and hot water separately. Move the handle through its full range and inspect the base, handle, and spout. Let the faucet run for a minute to clear air and loosened debris.
If water flow is weak after the repair, remove and rinse the aerator at the tip of the spout. Mineral sediment often breaks loose during a repair and collects there. Do not assume low pressure means the new cartridge is defective until you have checked the aerator.
When a DIY Faucet Repair Should Stop
A straightforward washer or cartridge replacement is within reach for many homeowners. It is time to call for help when the shutoff valves fail, the faucet body is cracked, corroded pipes or supply lines are leaking, water has reached the cabinet or flooring, or the faucet still leaks after the correct parts are installed.
Repeated faucet failures can also point to a larger issue, such as high water pressure, sediment, or worn plumbing connections. Repairing only the visible drip may not prevent the next leak. For homeowners in Port Orchard and nearby Kitsap County communities, Leakless Plumbing can identify the source, explain the repair clearly, and help prevent a small fixture problem from turning into water damage.
A repaired faucet should do more than stop dripping for a few days. It should operate smoothly, stay dry at the handle and base, and give you confidence every time you turn it on. If yours does not, protecting your home is worth a professional second look.